
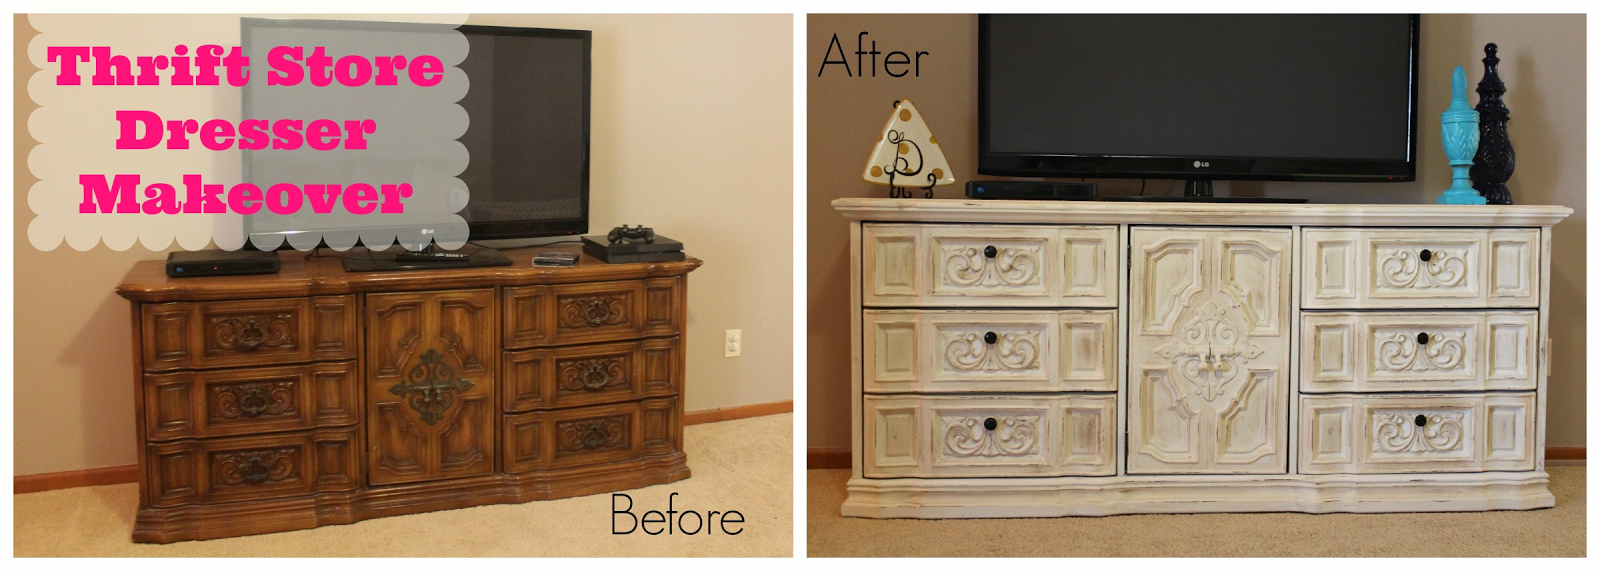
It was truly love at first sight. I walked into a Salvation Army one Saturday afternoon a few months ago in Arizona to treasure hunt, and I knew as soon as I saw this baby she was mine. I had to have her.

The whole store was half off, and I bounced out of there proud as a peacock with this $63 steal! Three months later, I finally got around to giving “her” some TLC.
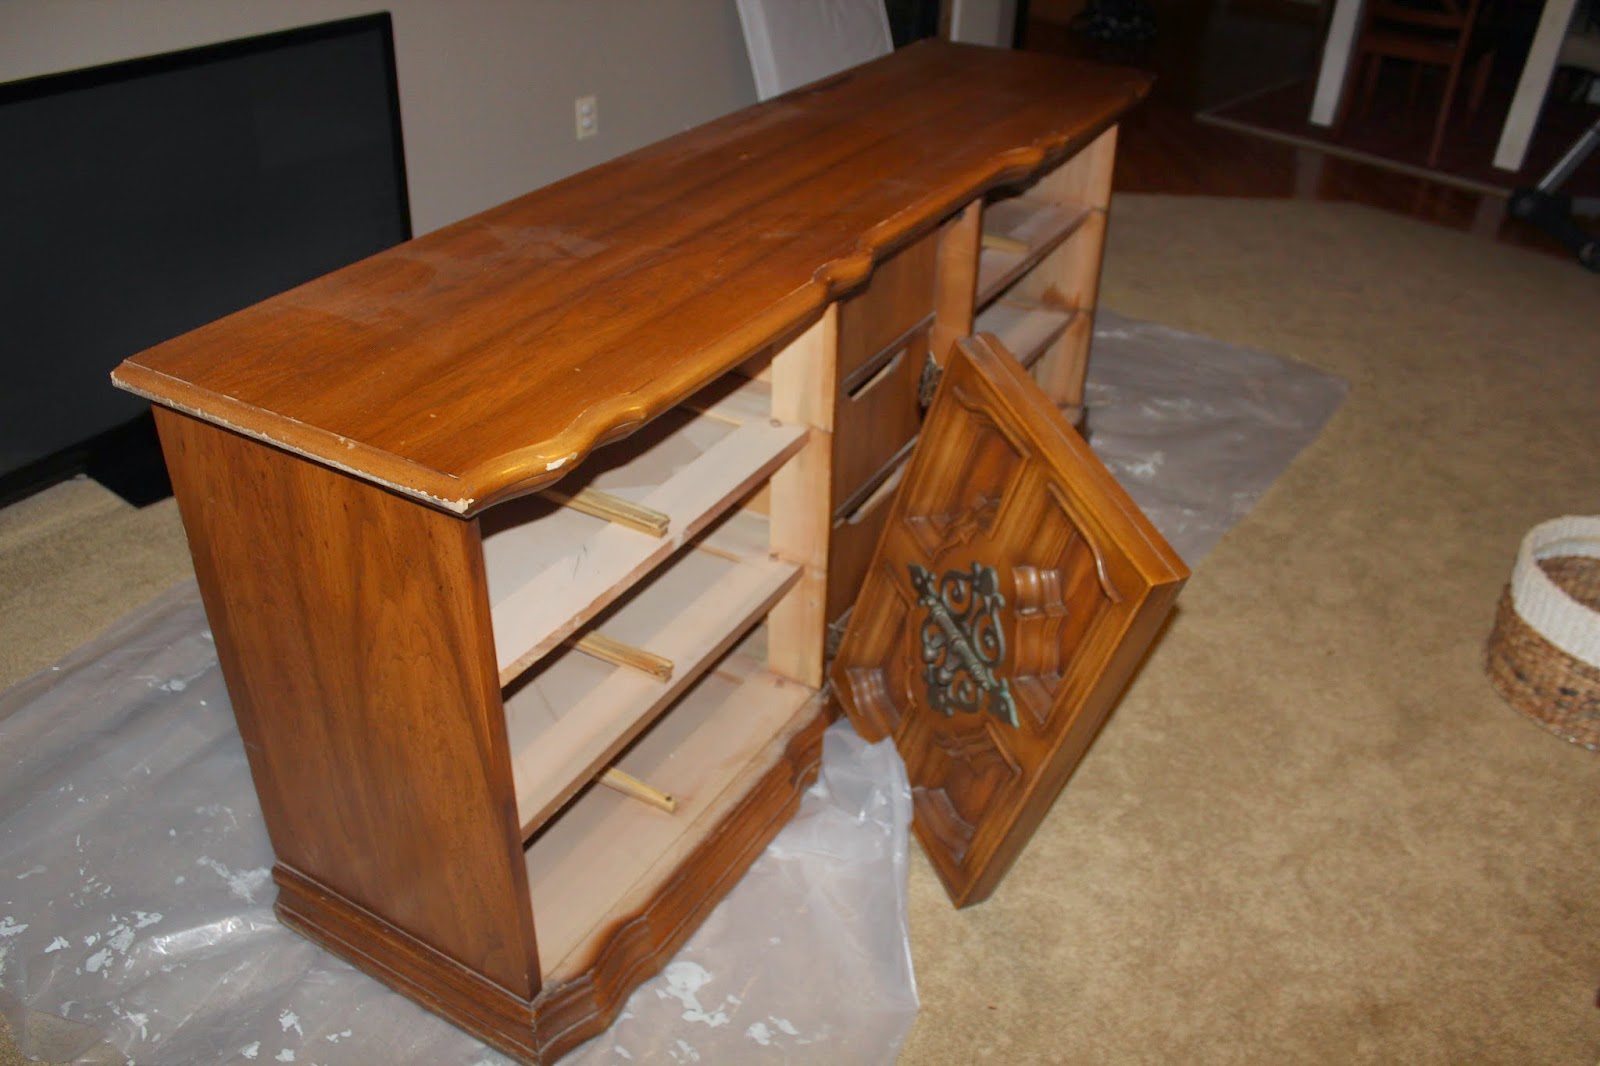
I decided that Monday would be the day that I’d buckle down and get ‘er done. As soon as Hadley crashed for her morning nap, I got my supplies ready and brought all six drawers into the garage. I’d decided weeks ago that I wanted to replace the hardware (except for the big center piece), so I’d already taken those off.
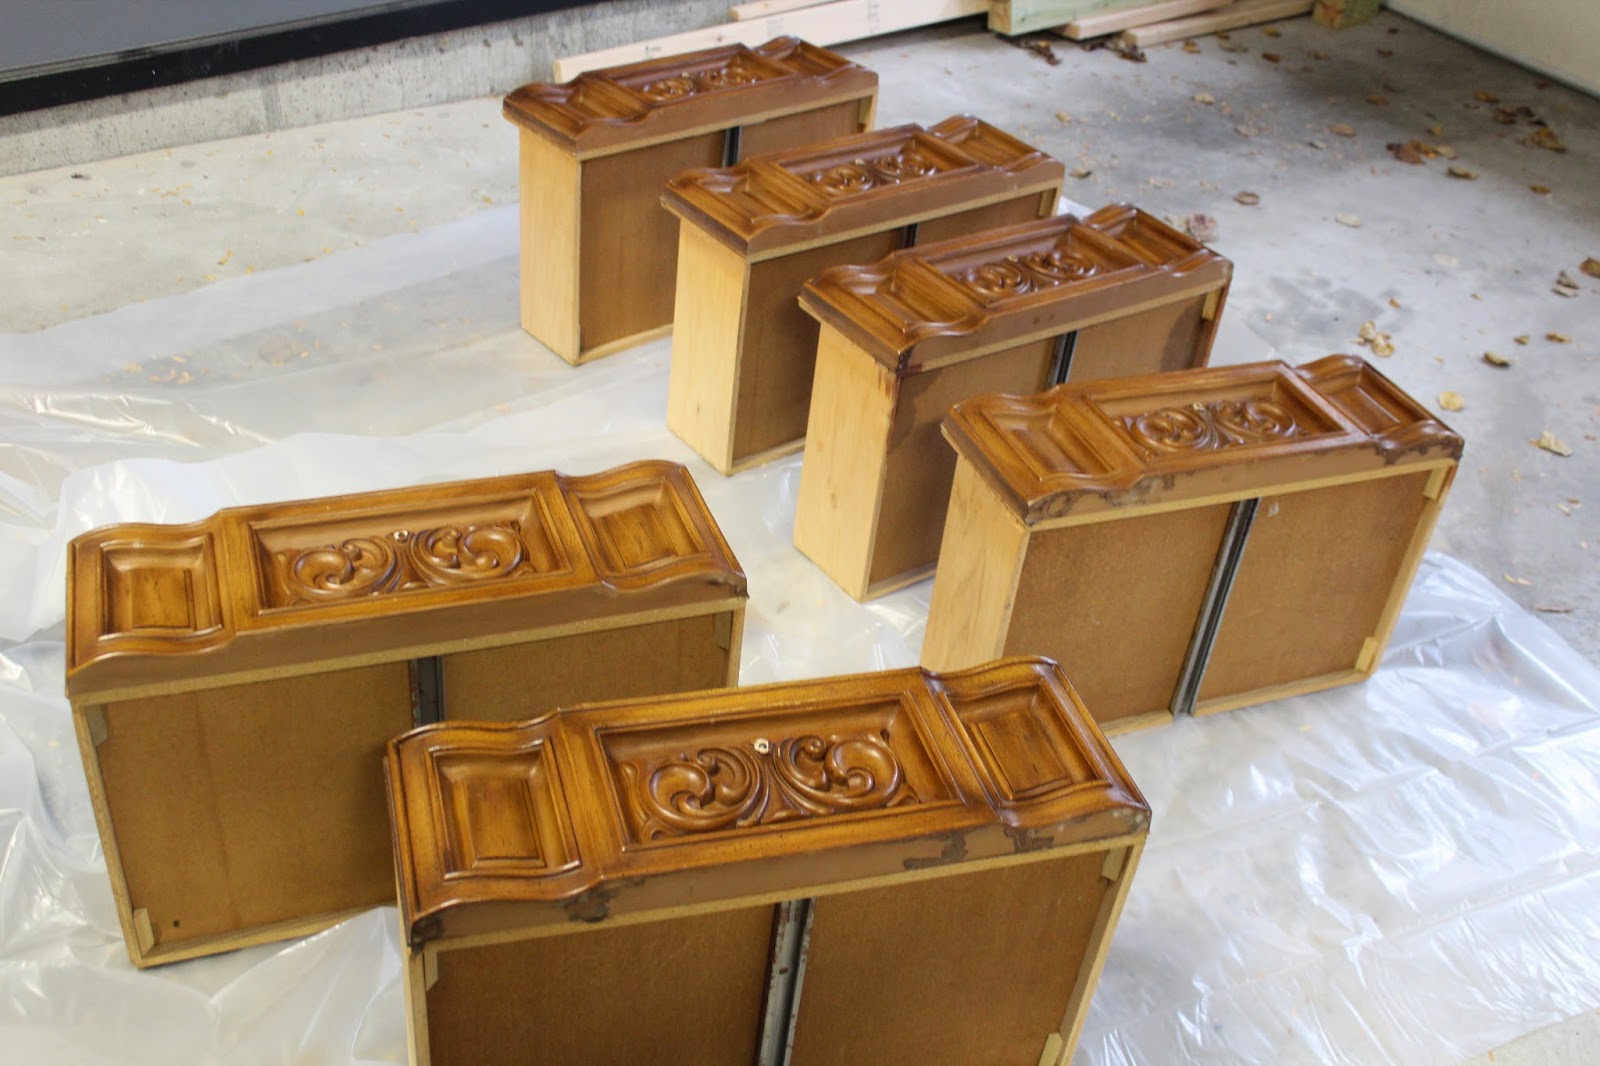

The first thing I did was take a damp cloth and clean off the drawers. I went back a second time with a dry cloth to double check that it was clean and dry. Sanding is often the next step, but I skipped sanding the drawers because they’re so detailed and I didn’t see a point. Time to paint!
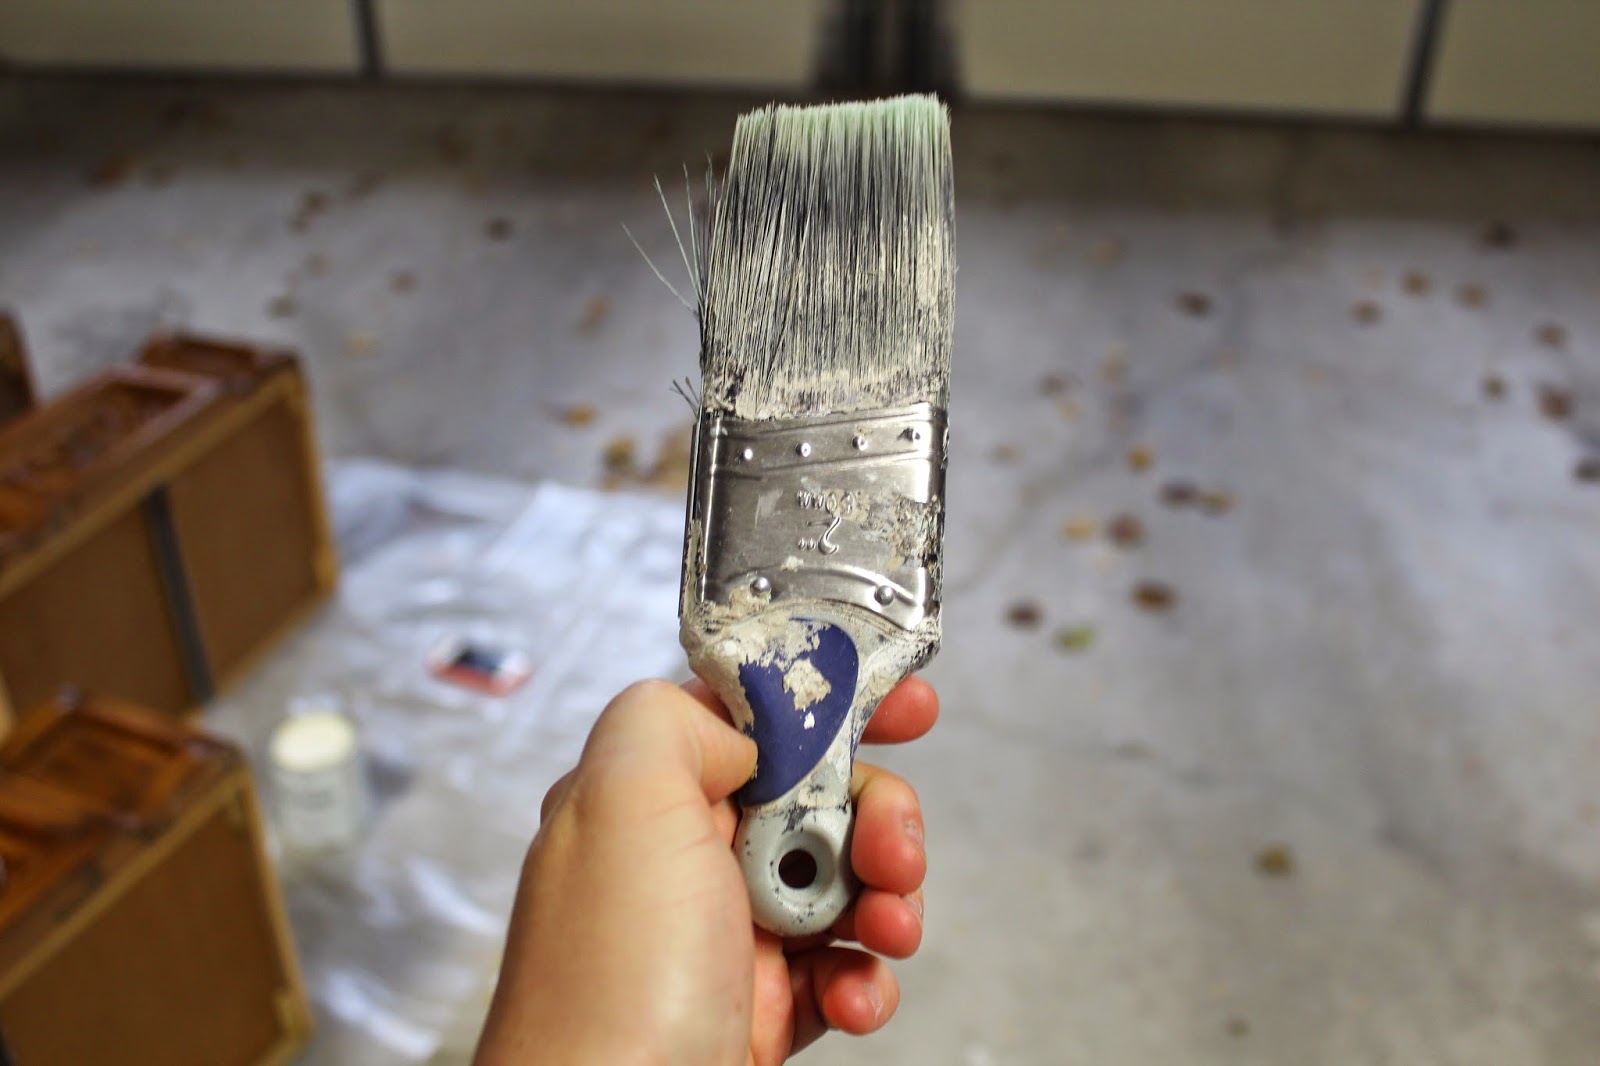
With my BFF brush (Premium XL Tight Spots 2″ Angle Short Handle Brush), I did a quick first coat.
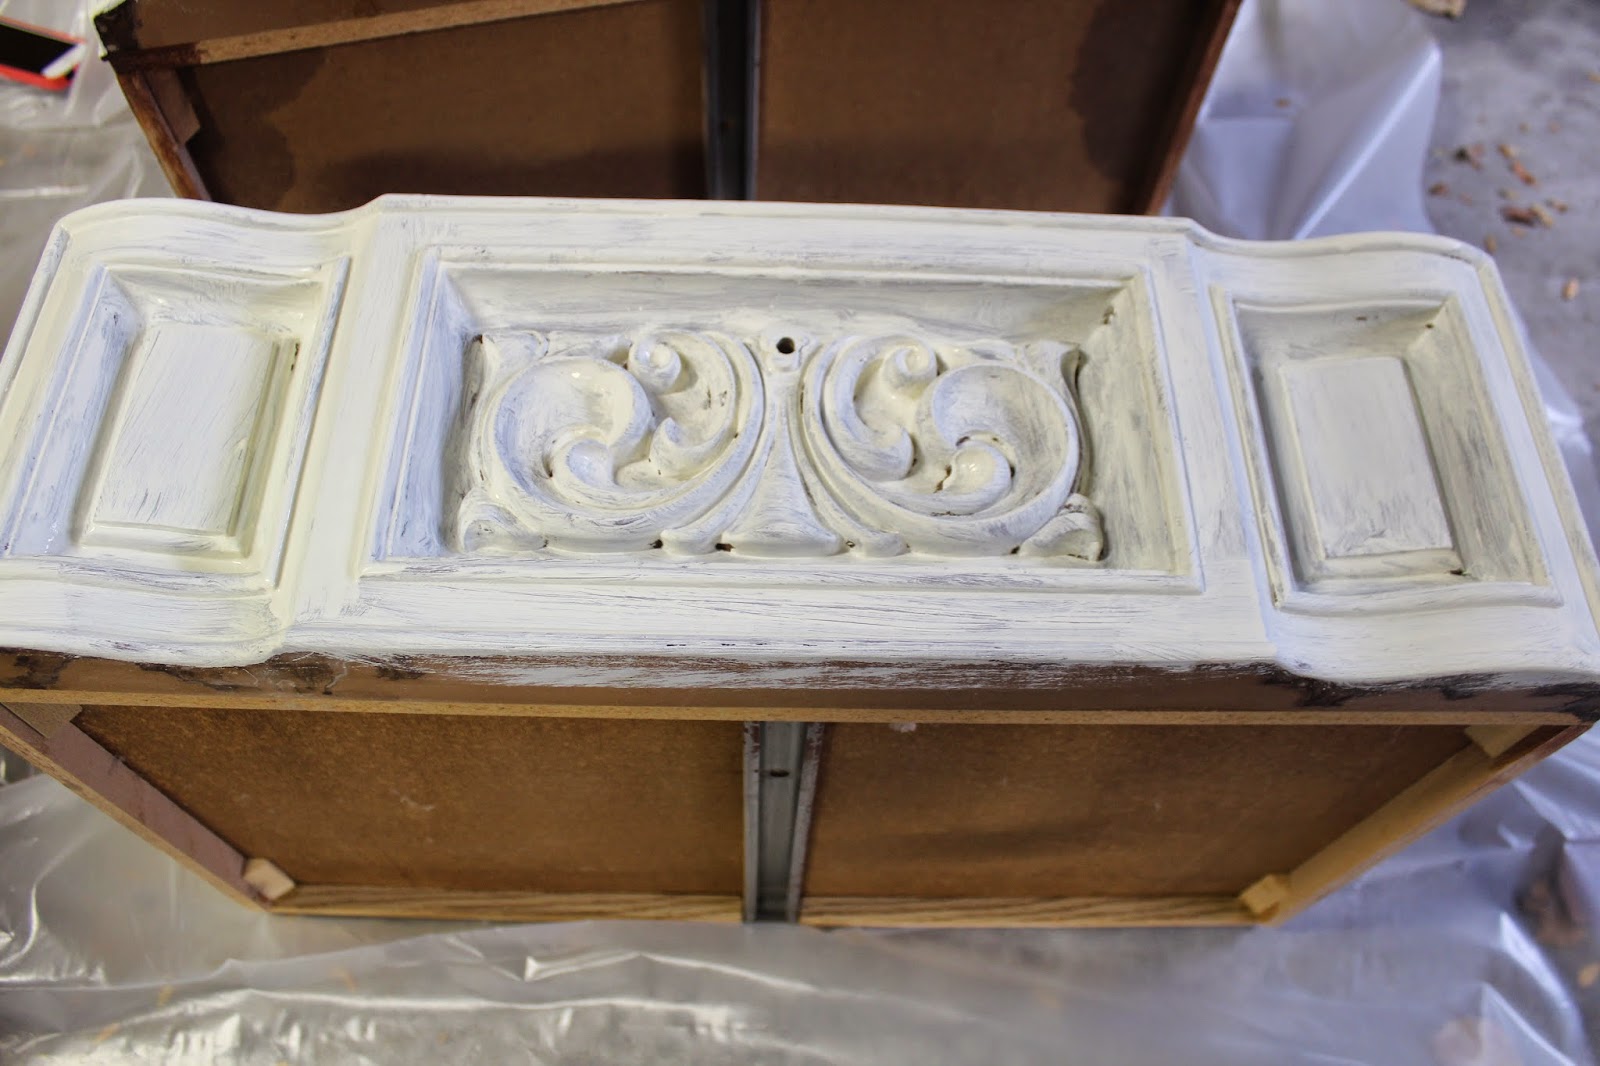
Trying to get in all the nooks and cranies of the drawers’ detailing was a big ‘ole pain in the rear, but I knew after three coats that everything would be covered. Pictured below is one drawer after I applied the first coat and let it dry.
During Hadley’s afternoon nap, I snuck outside and did a second coat.
Before the third coat, I did a little sanding on the areas that looked a little rough and gritty. I sanded it with a level 100 grit sandpaper with a super light touch. A little paint came off that I covered with the third coat.
After all the drawers were totally dry, the fun began – distressing! Using the same sandpaper, I roughed up some raised areas that would naturally wear with age. Doing the first few marks always makes me tense up a little, but I know that if I do a mark I’m unhappy with that I can always go back and paint over it.
After I distressed all the drawers, I took my two cleaning cloths and did a quick wipe down. Time for wax!
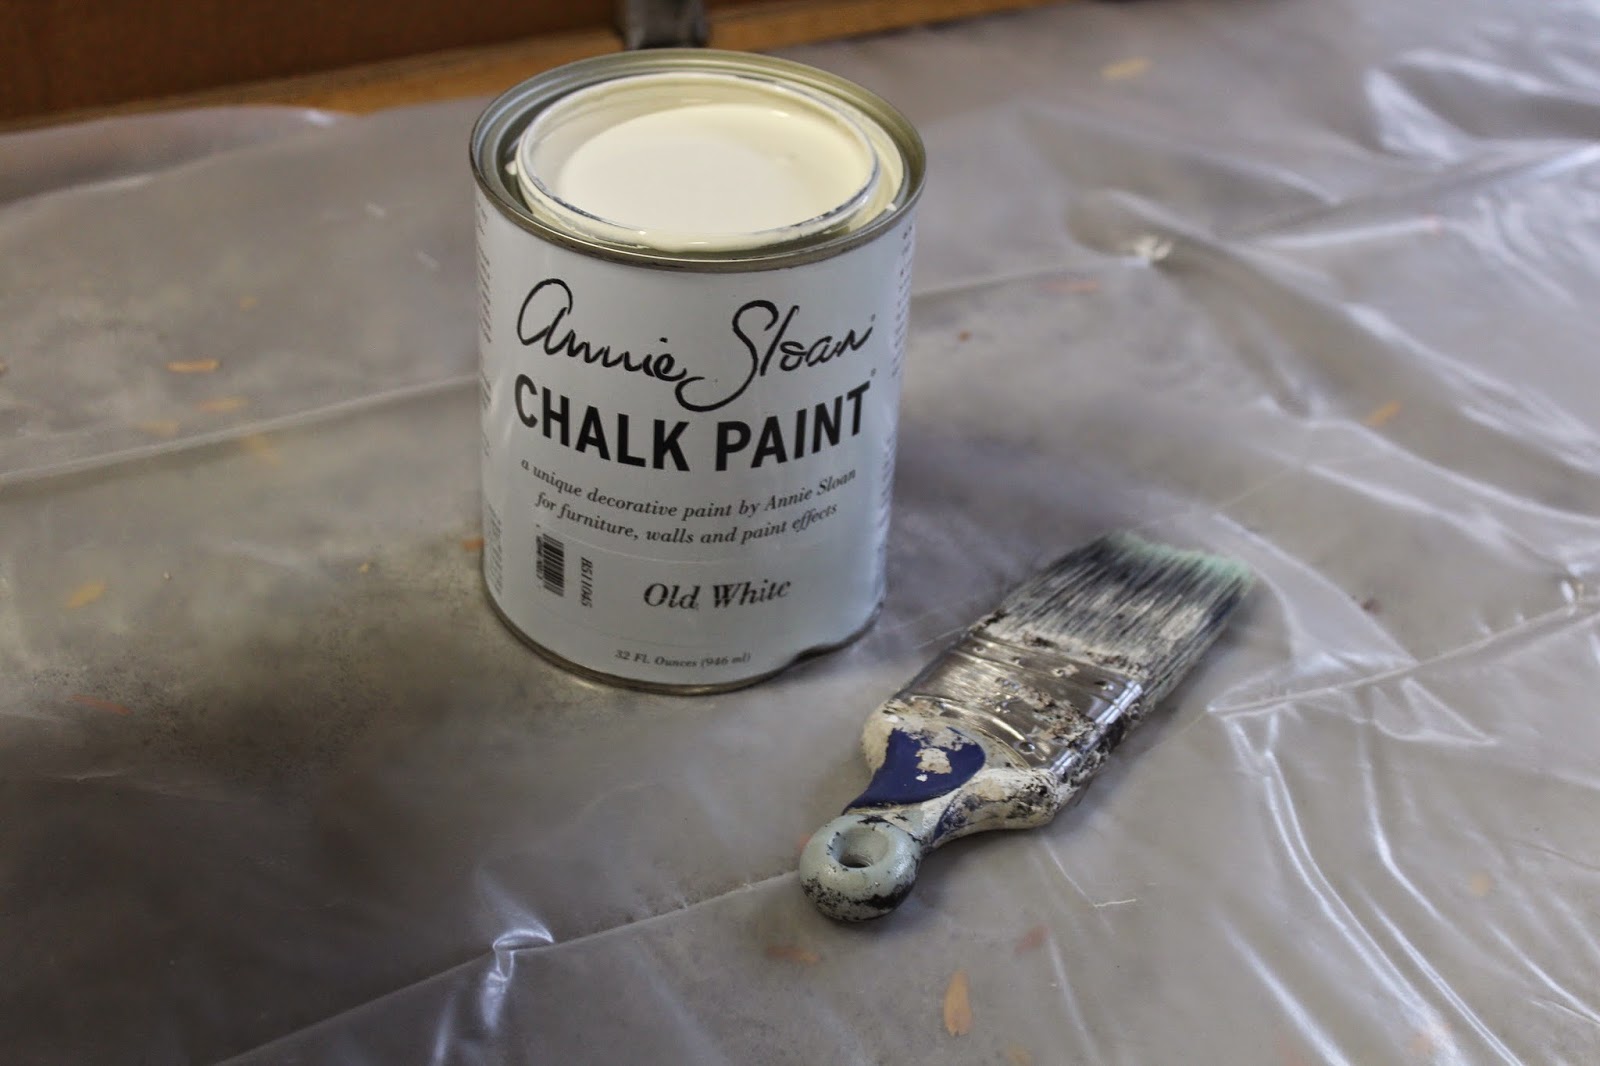
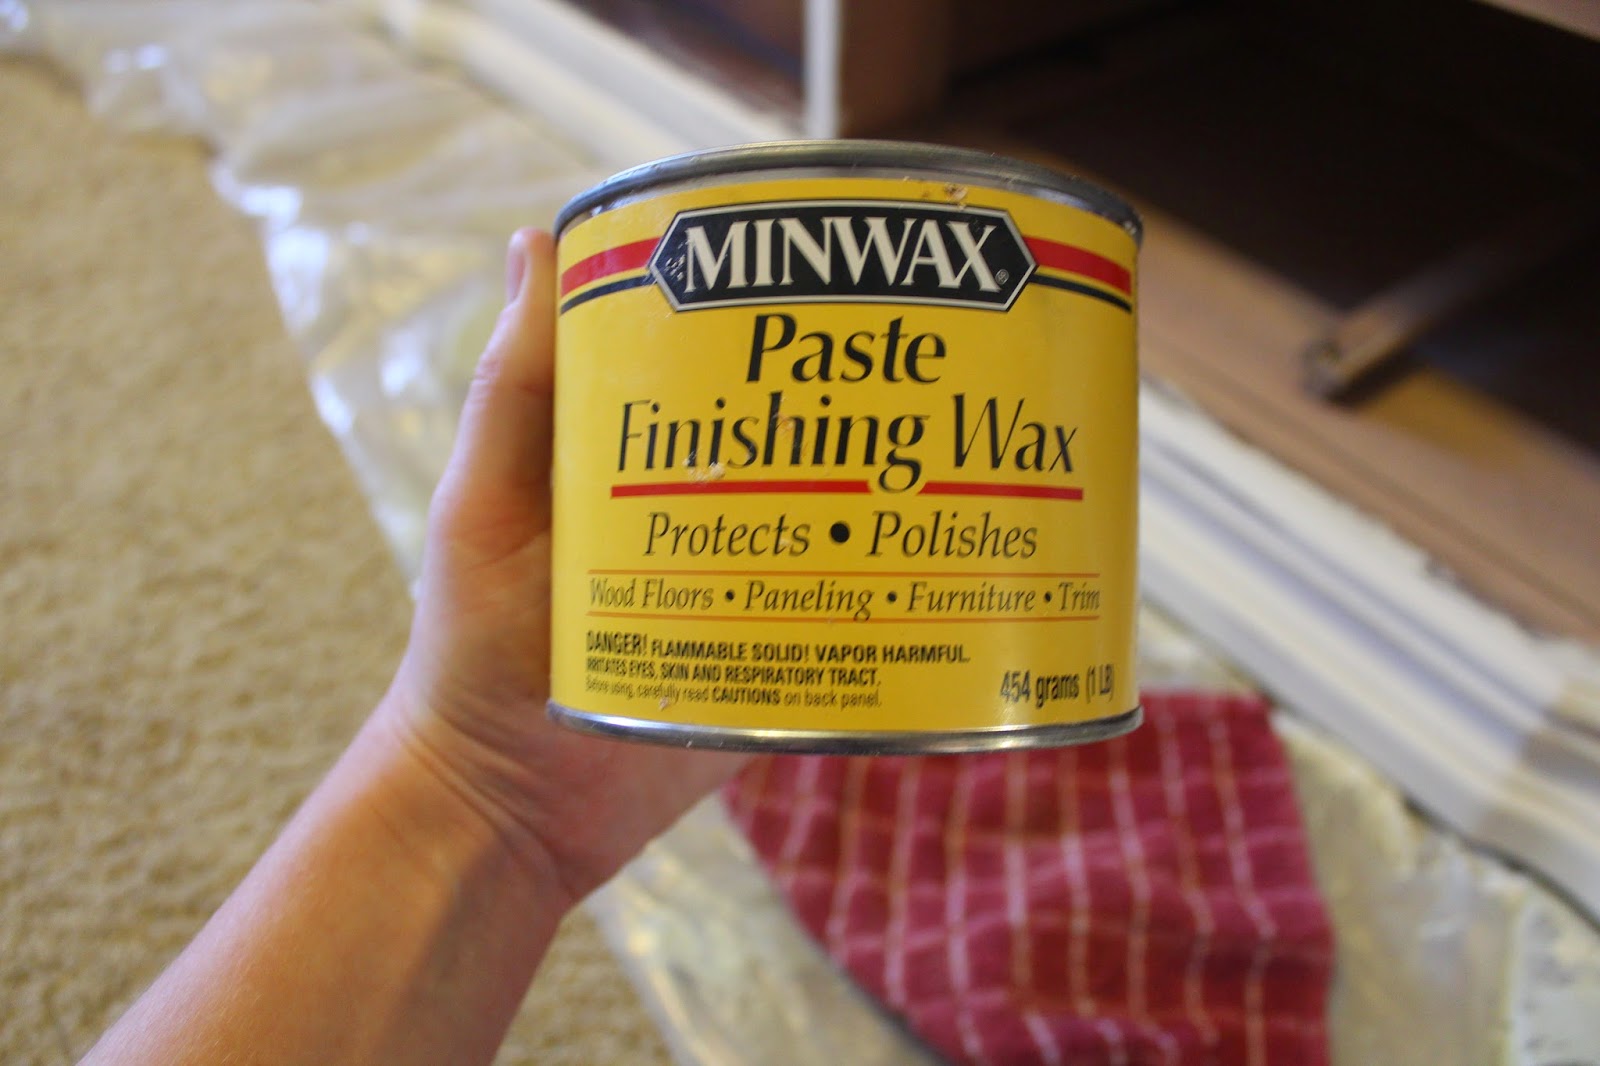
The clear wax I have on hand in the Minwax Finishing Paste, and it’s just okay. I don’t love it. Applying it to a solid surface, such as the top of the dresser, is easy, but trying to wax in the detailed areas was tough because it leaves an orange-y paste behind. For future projects, I’ll splurge and go with the Annie Sloan clear wax.

Using a small hand towel, I slowly started working the finishing paste into the drawers. After each small section, I’d wipe off excess wax and begin work with the dark wax.
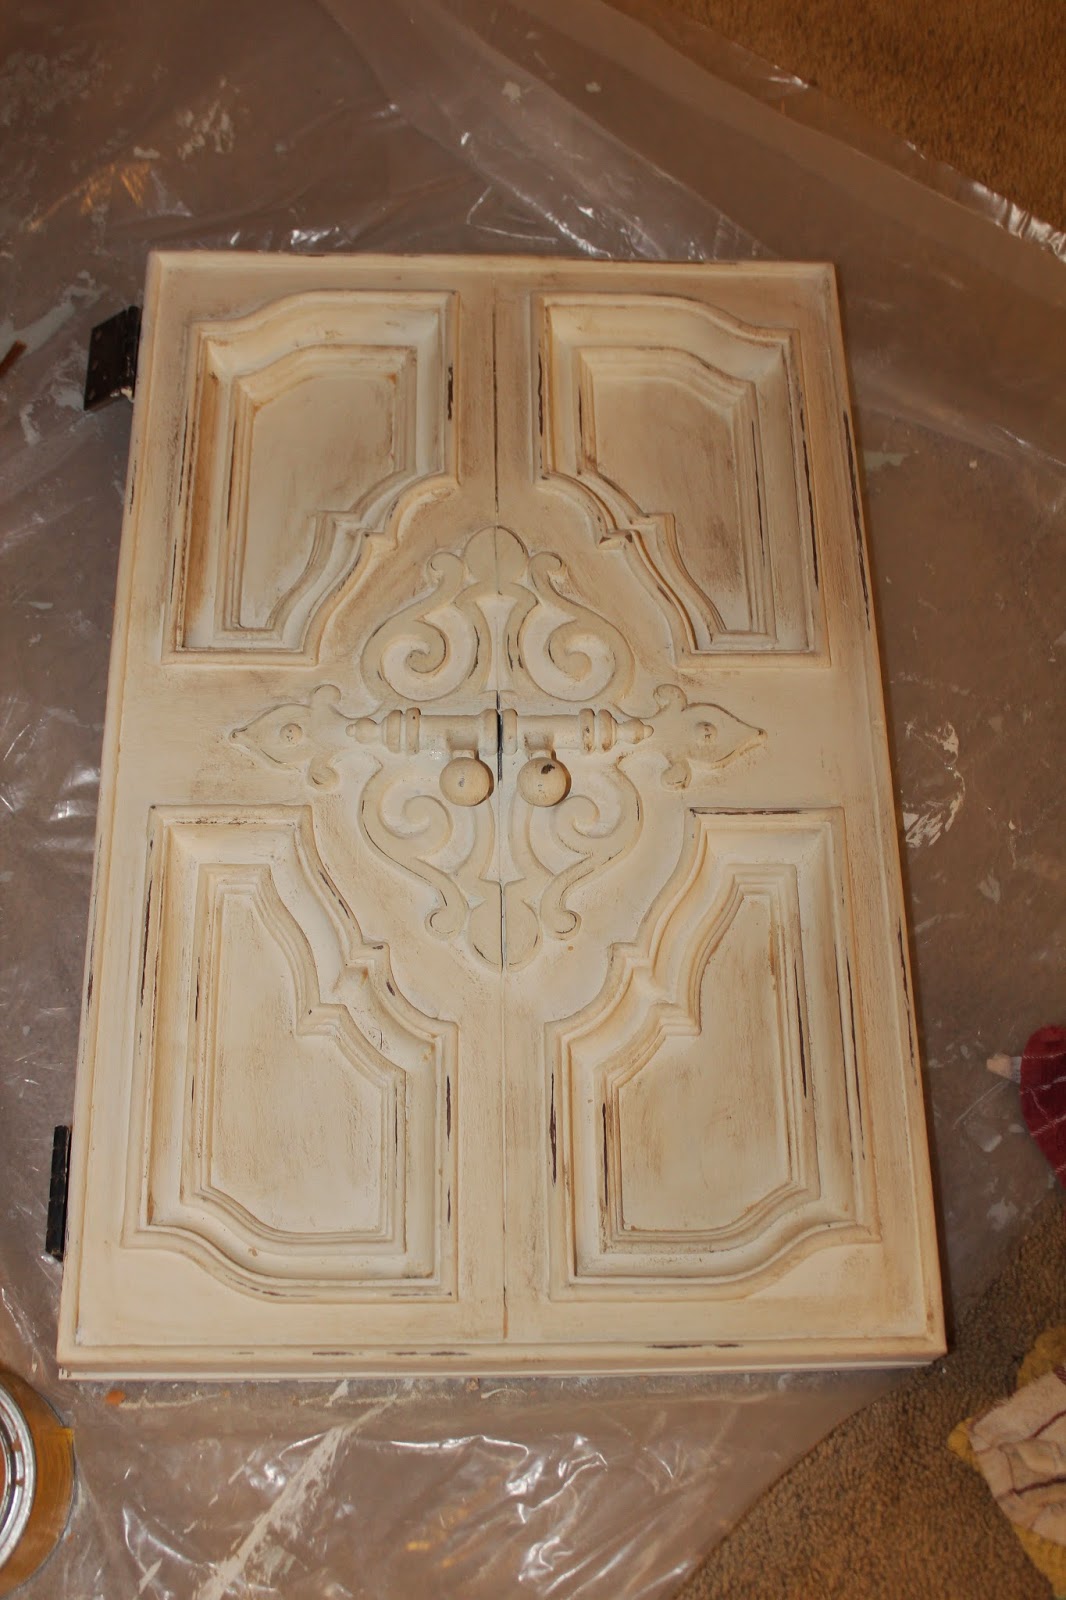
For the dark wax, I borrowed my sister’s can of Annie Sloan. I love this stuff because a little bit goes a long way! She suggested that I take a small spoonful on the wax and put in on a paper plate. Using a brush that she uses only for dark wax, I worked the wax into the plate and eventually onto my piece.

Here’s the trick – If you’re going to use dark wax, you have to also use clear wax. The dark wax should be applied only to areas that still have freshly-applied clear wax.
In a nutshell, here’s how I used the clear and dark wax –
1.) Apply clear wax to small area
2.) Wipe off excess

3.) Apply thin amount of dark wax
4.) Quickly rub in dark wax and wipe off excess
5.) Begin again with next small area
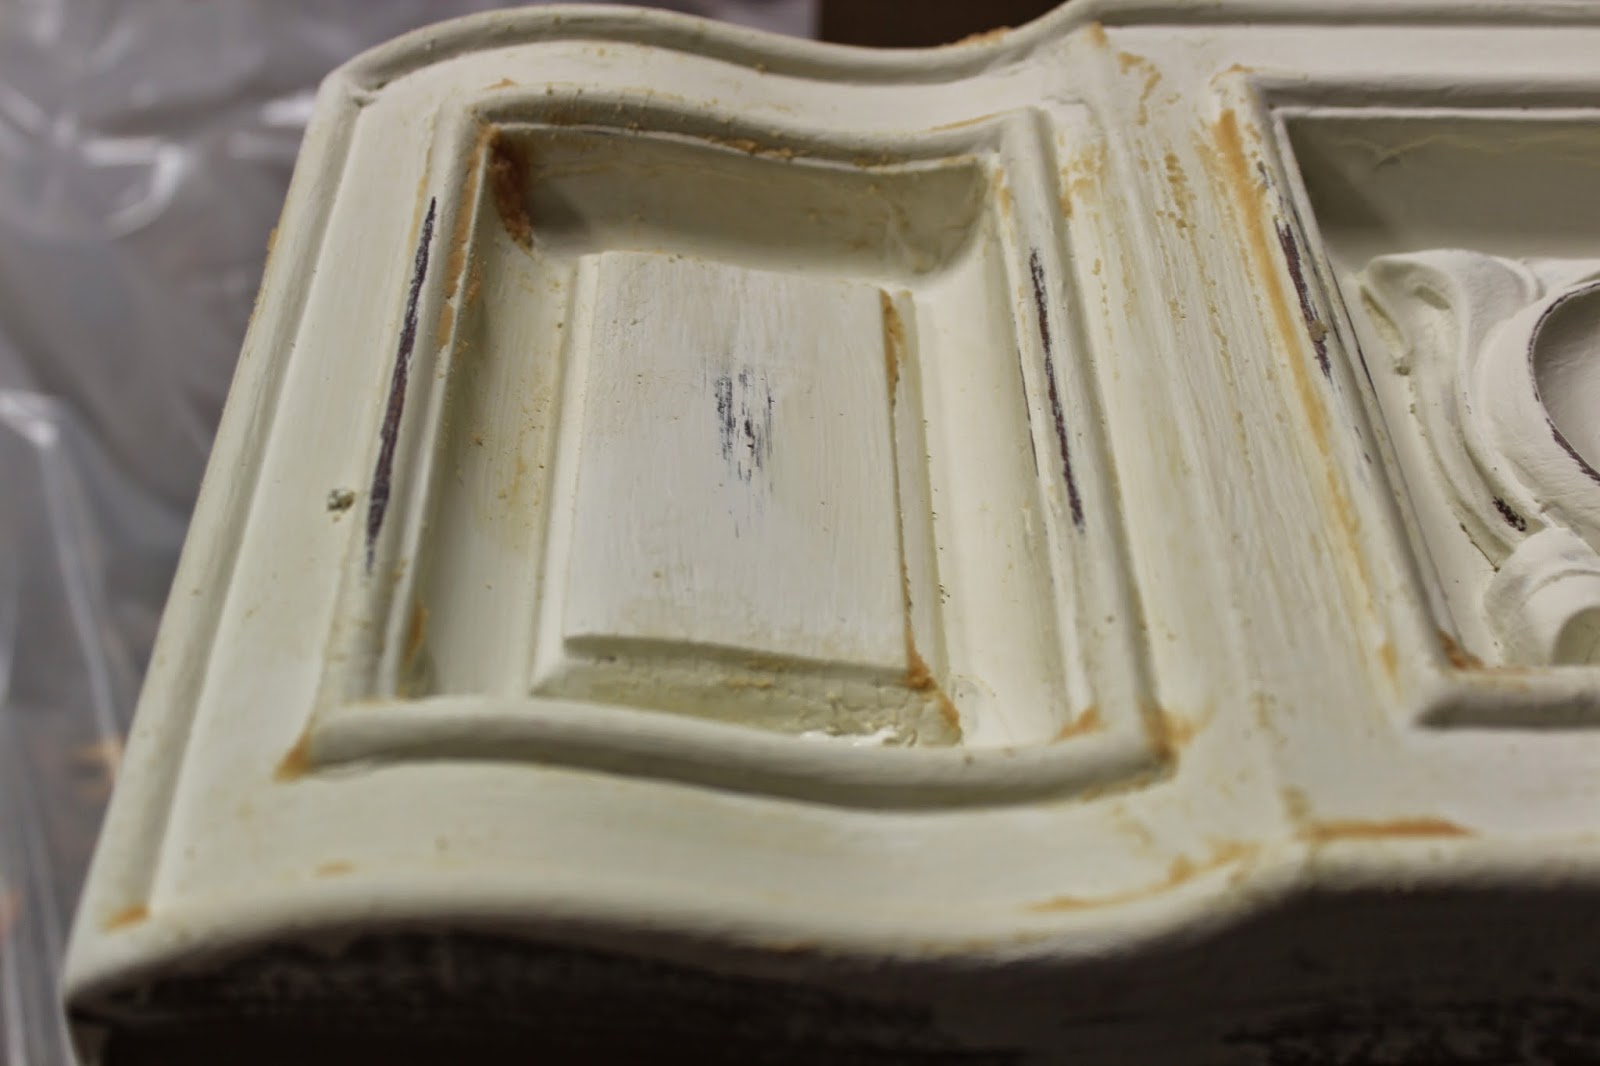
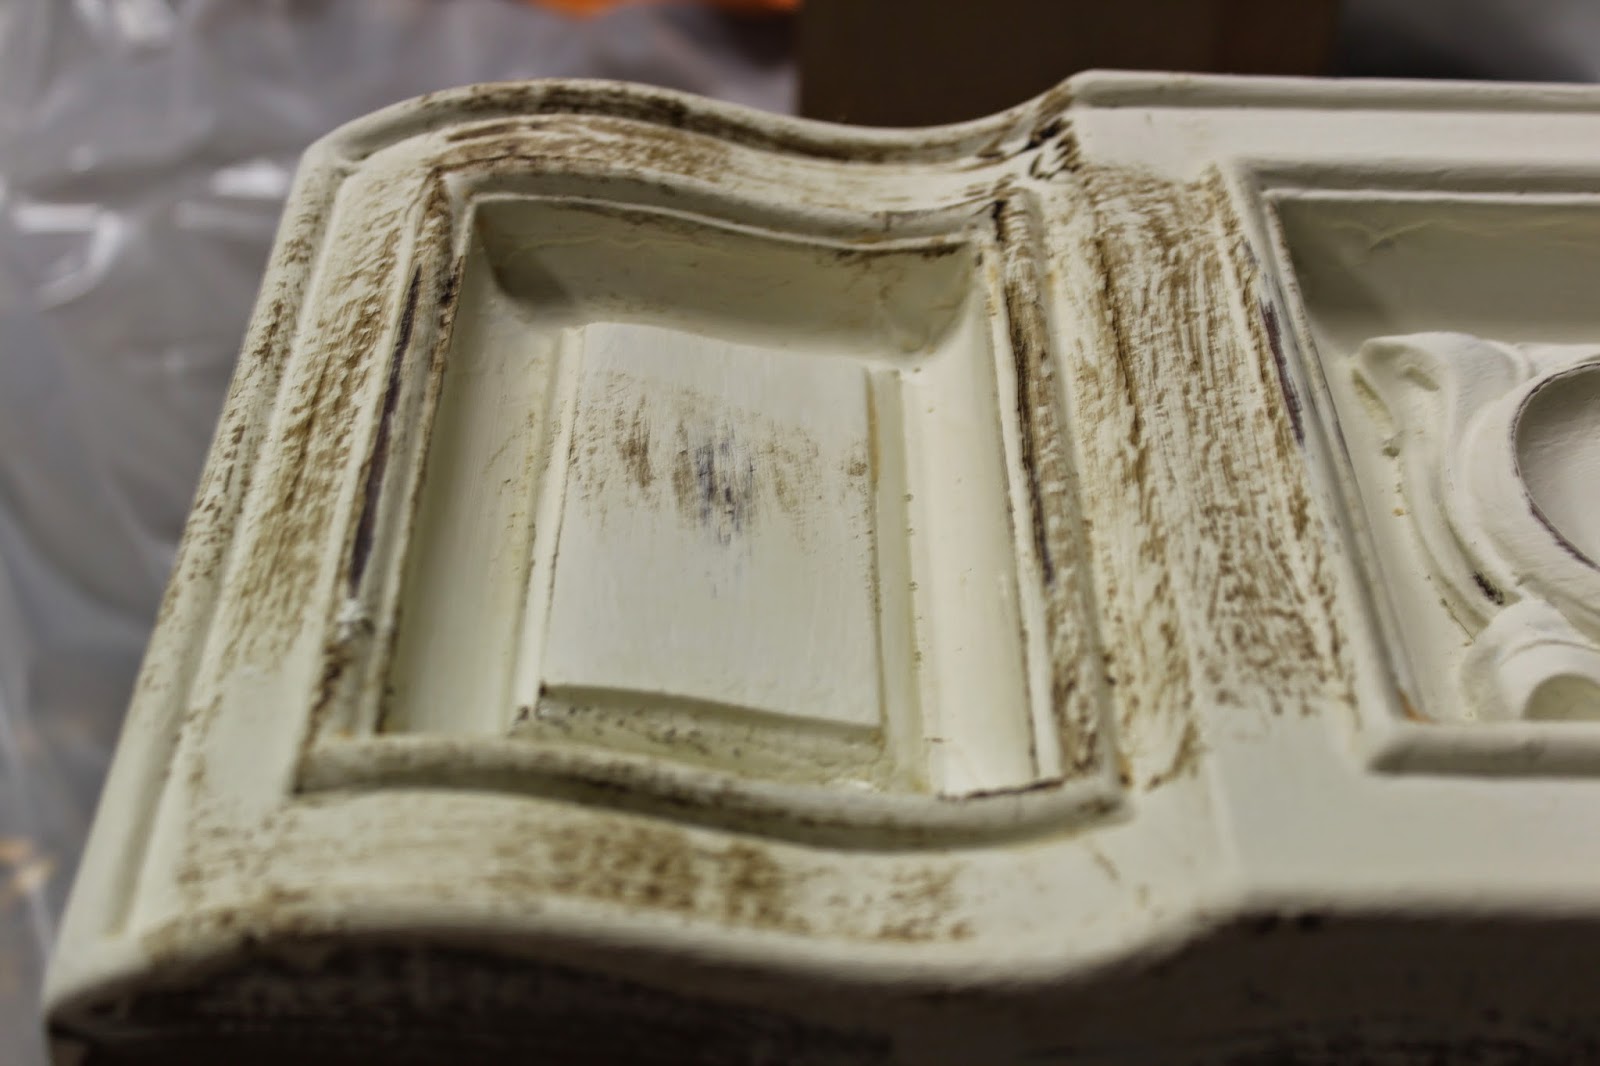
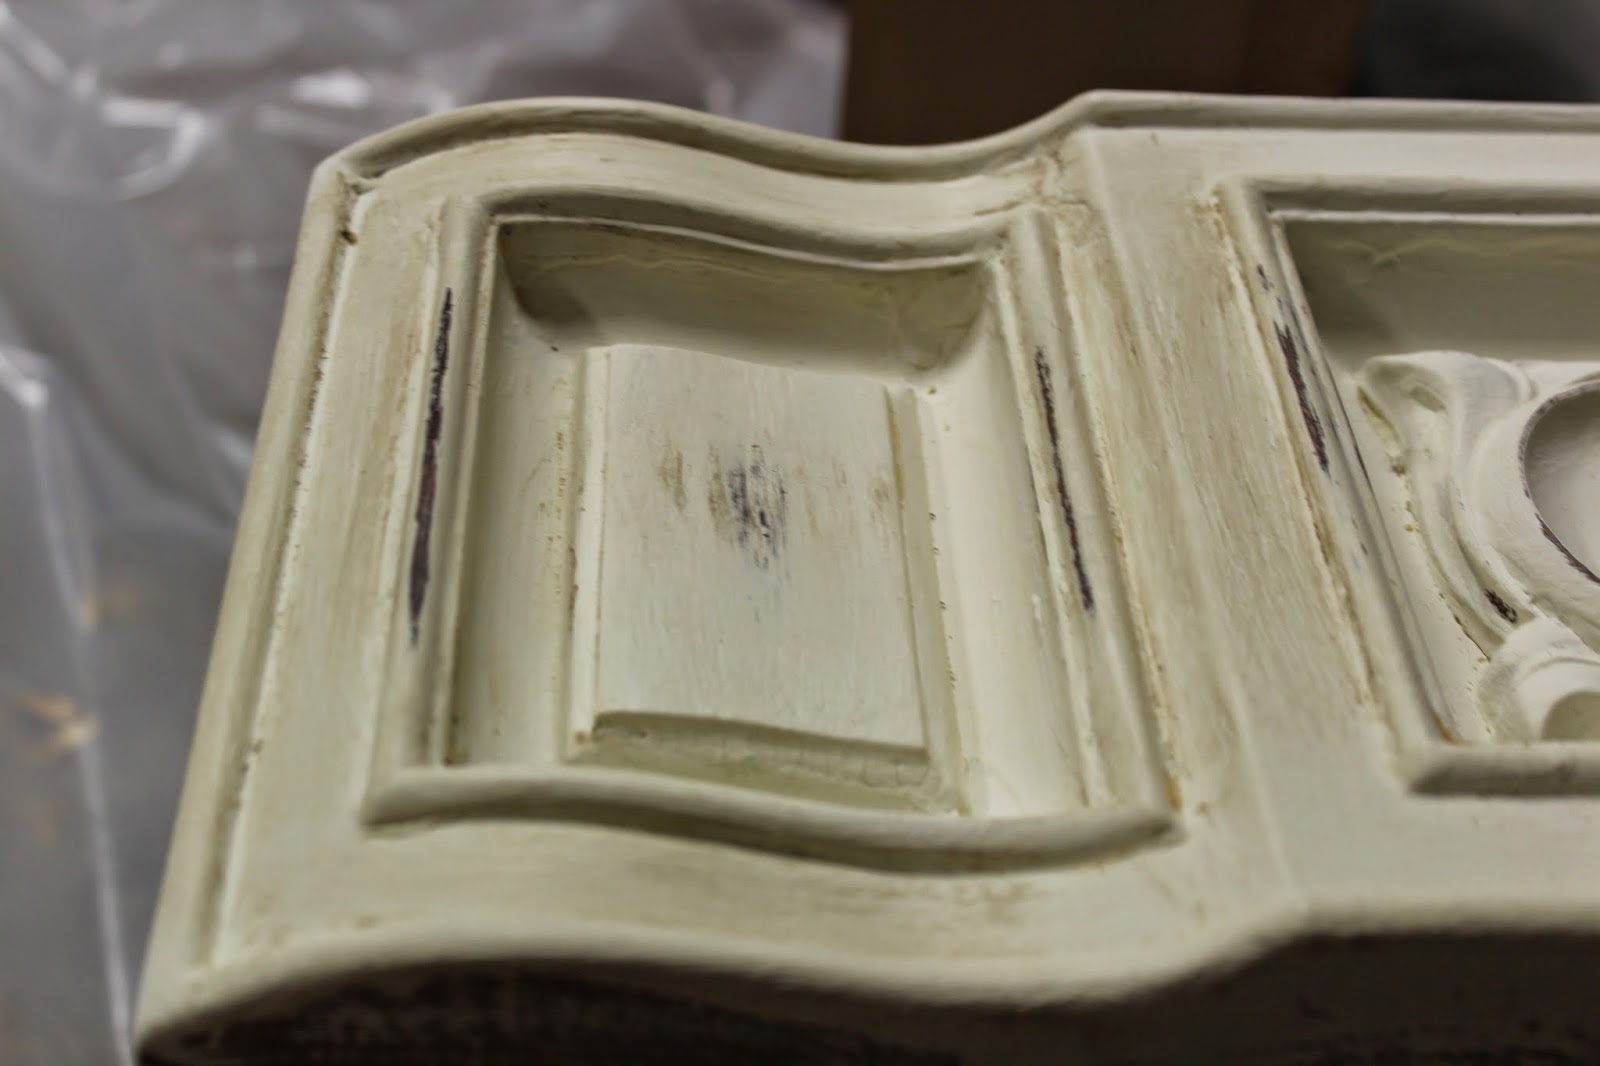
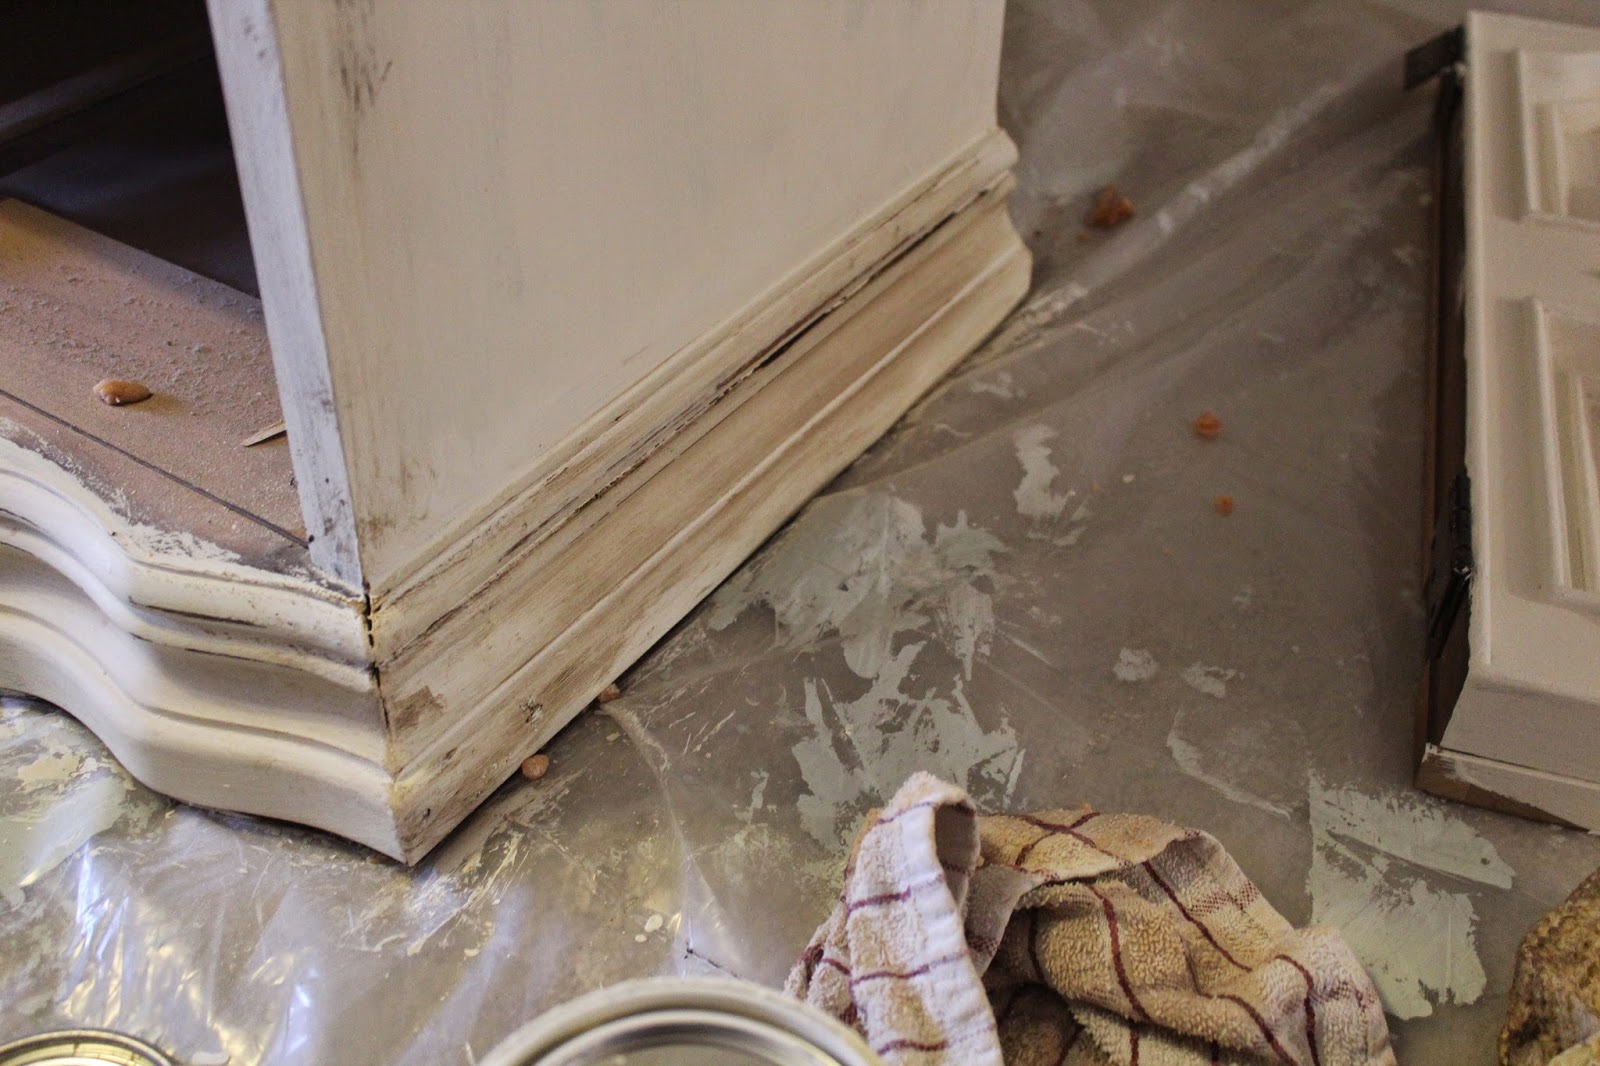
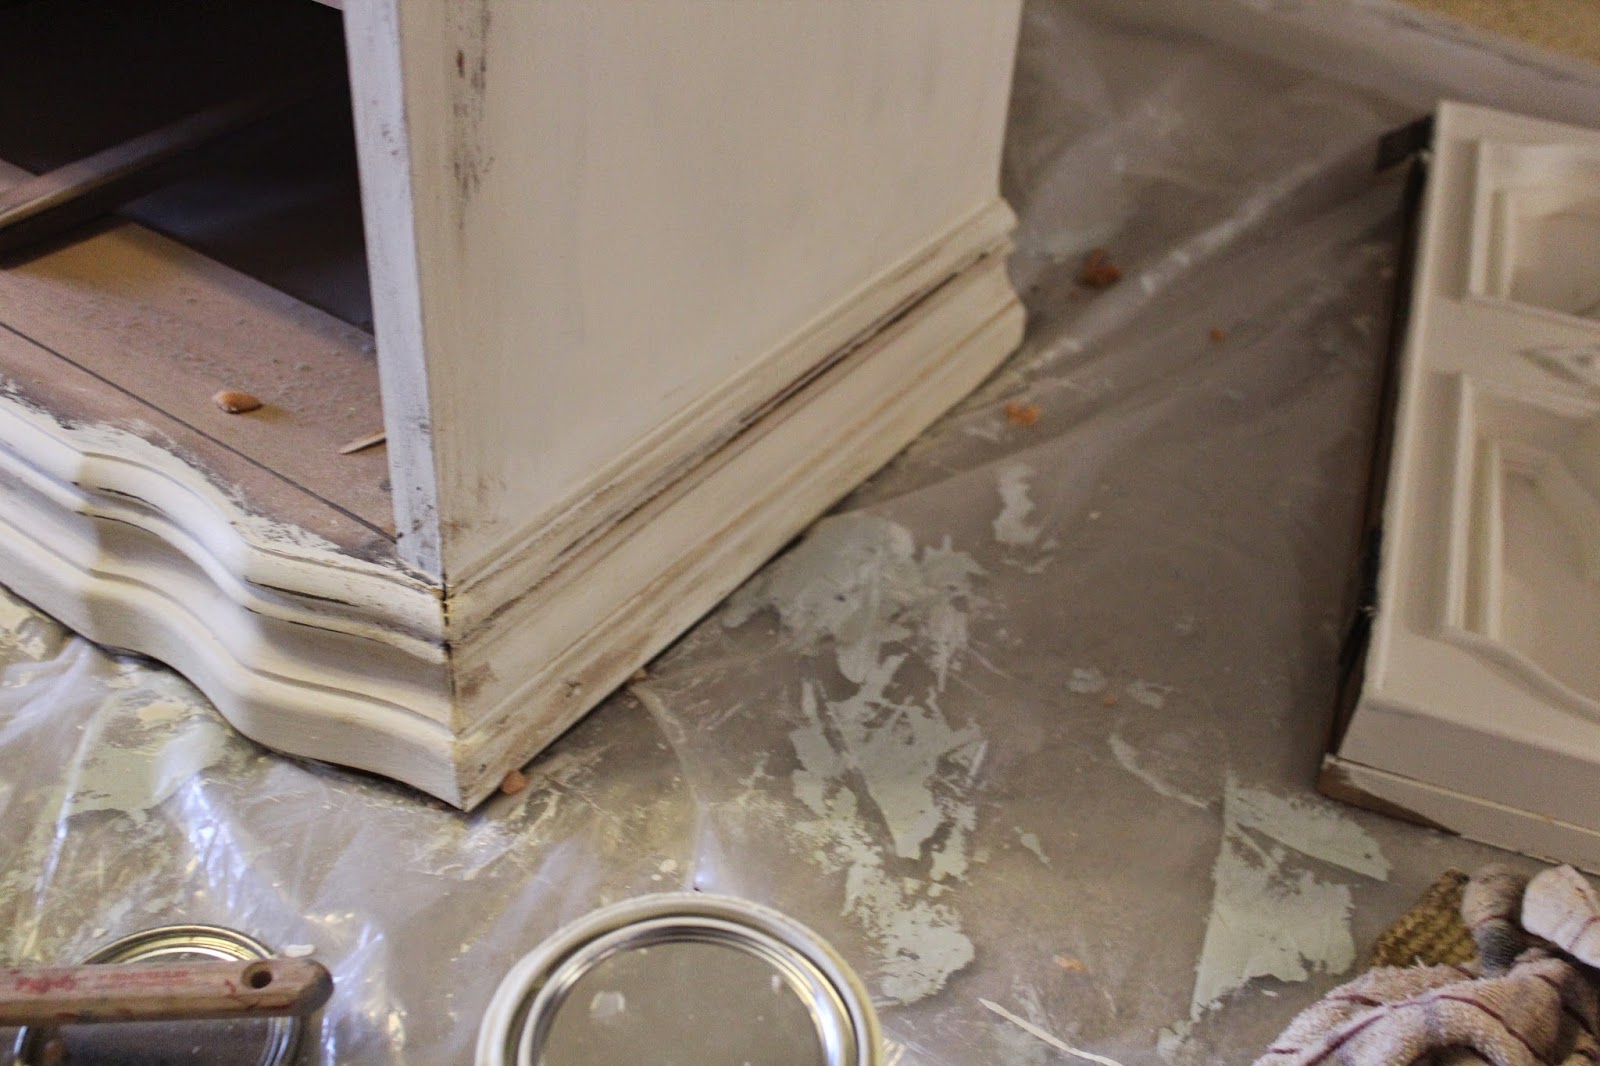
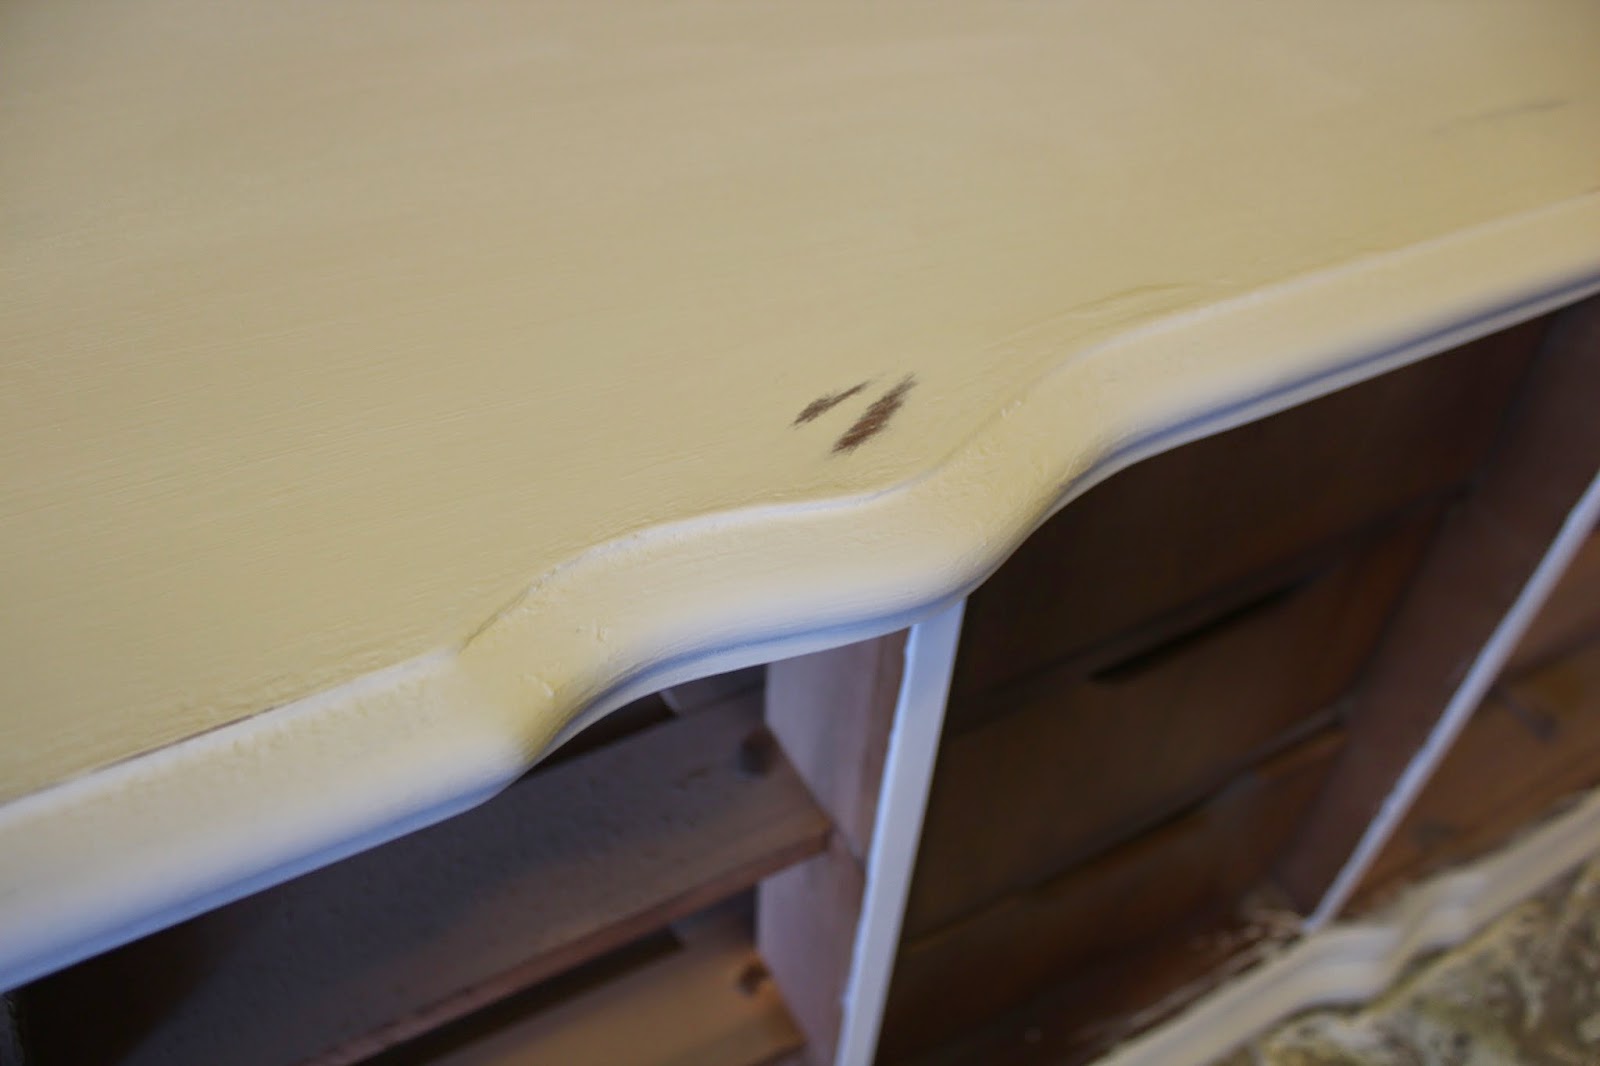
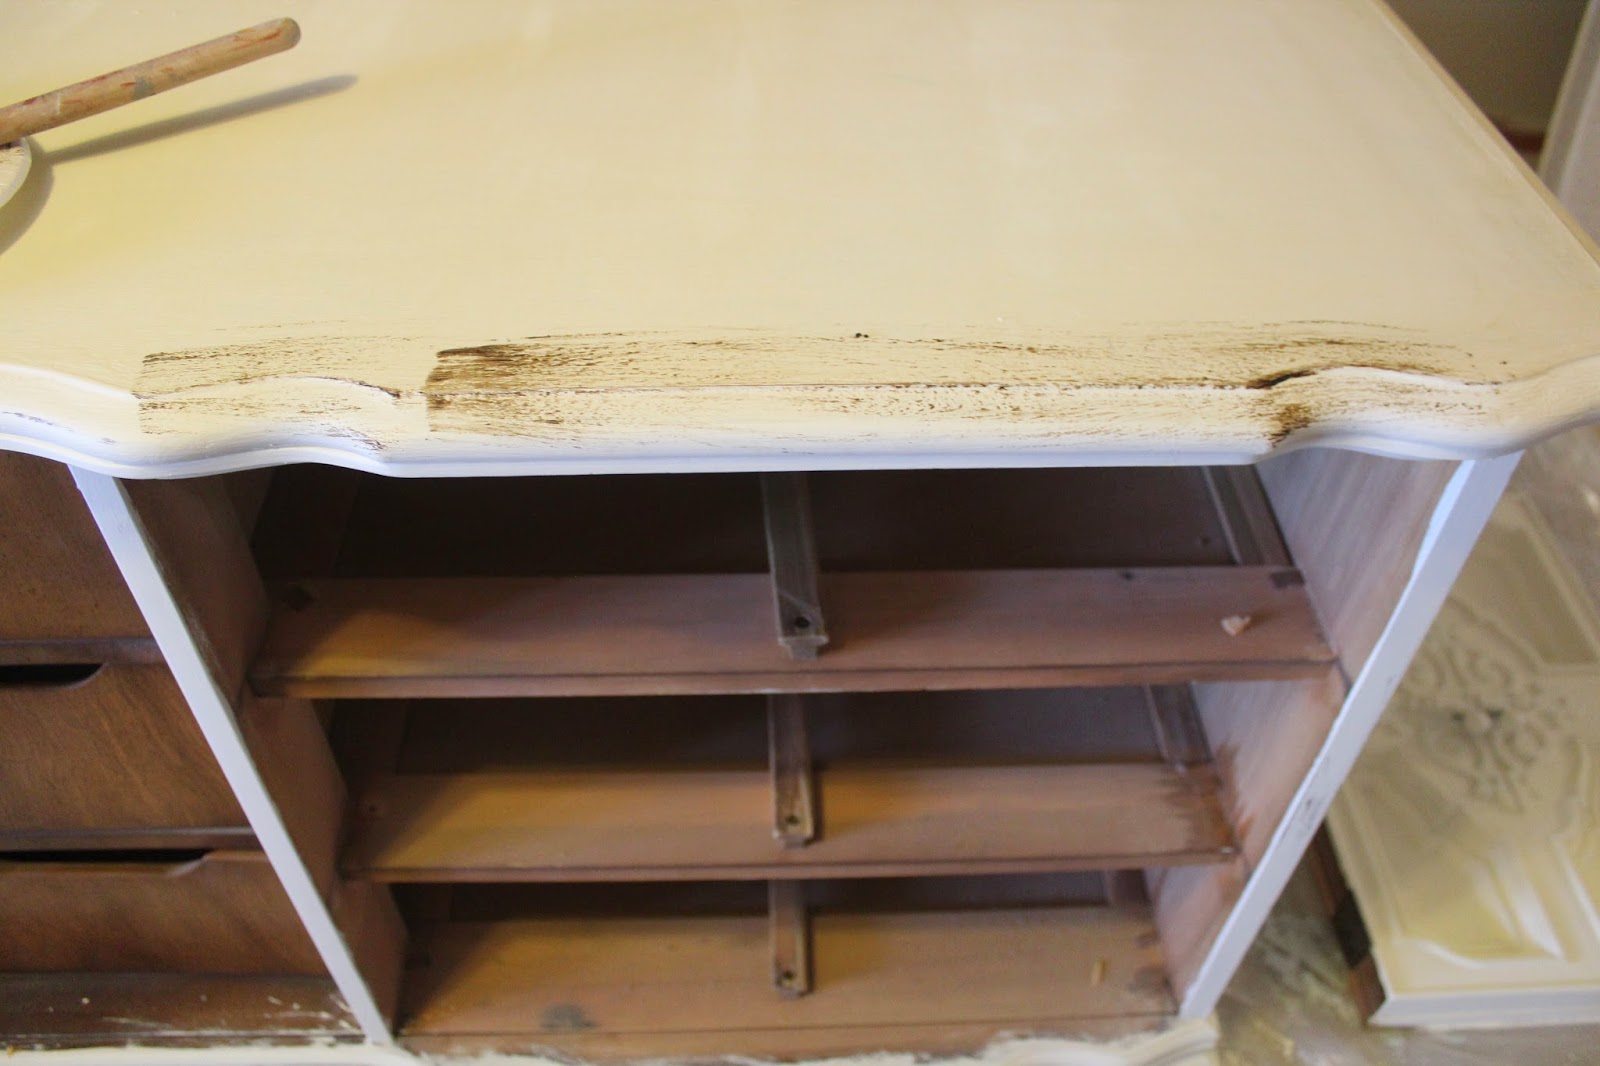
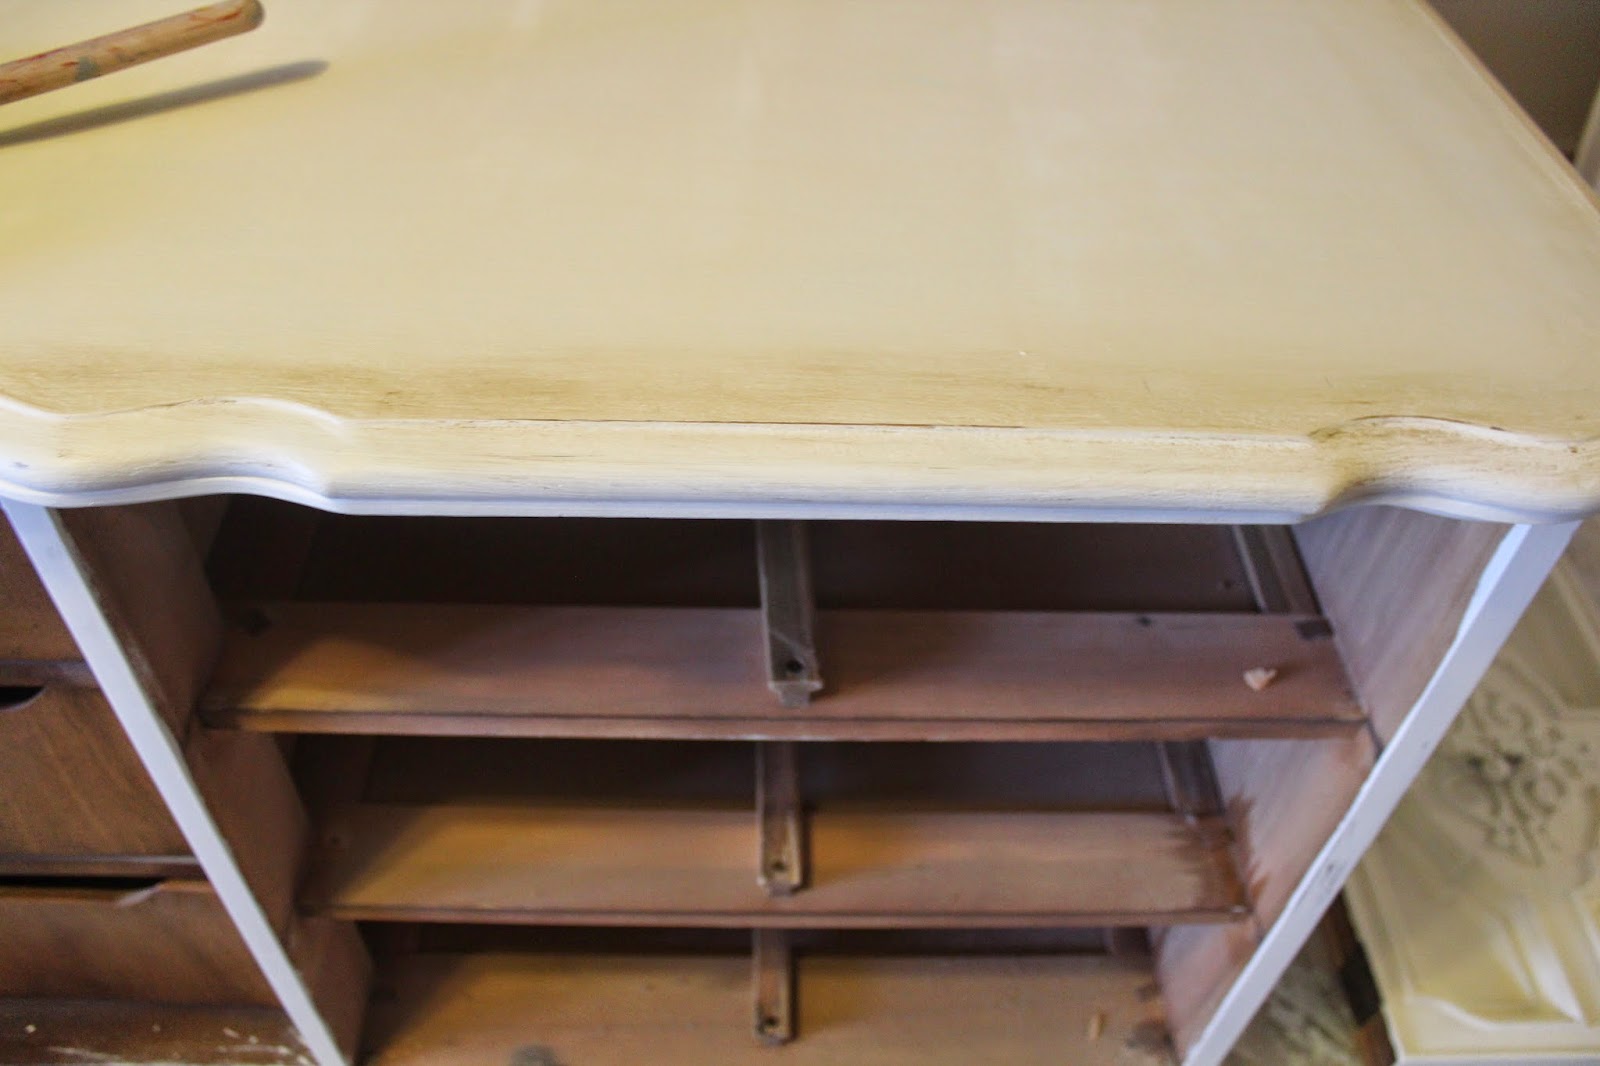
There were a few times that I was unhappy with how dark a few areas were, so I went back over those with the clear wax and rubbed the dark wax in until I was happy with the look. Below you can see an area that I applied too much dark wax, but in the following picture you’ll see how it looked after I applied a layer of clear wax and then rubbed it all off. Putting clear wax on top of dark wax basically acts as a semi-eraser.
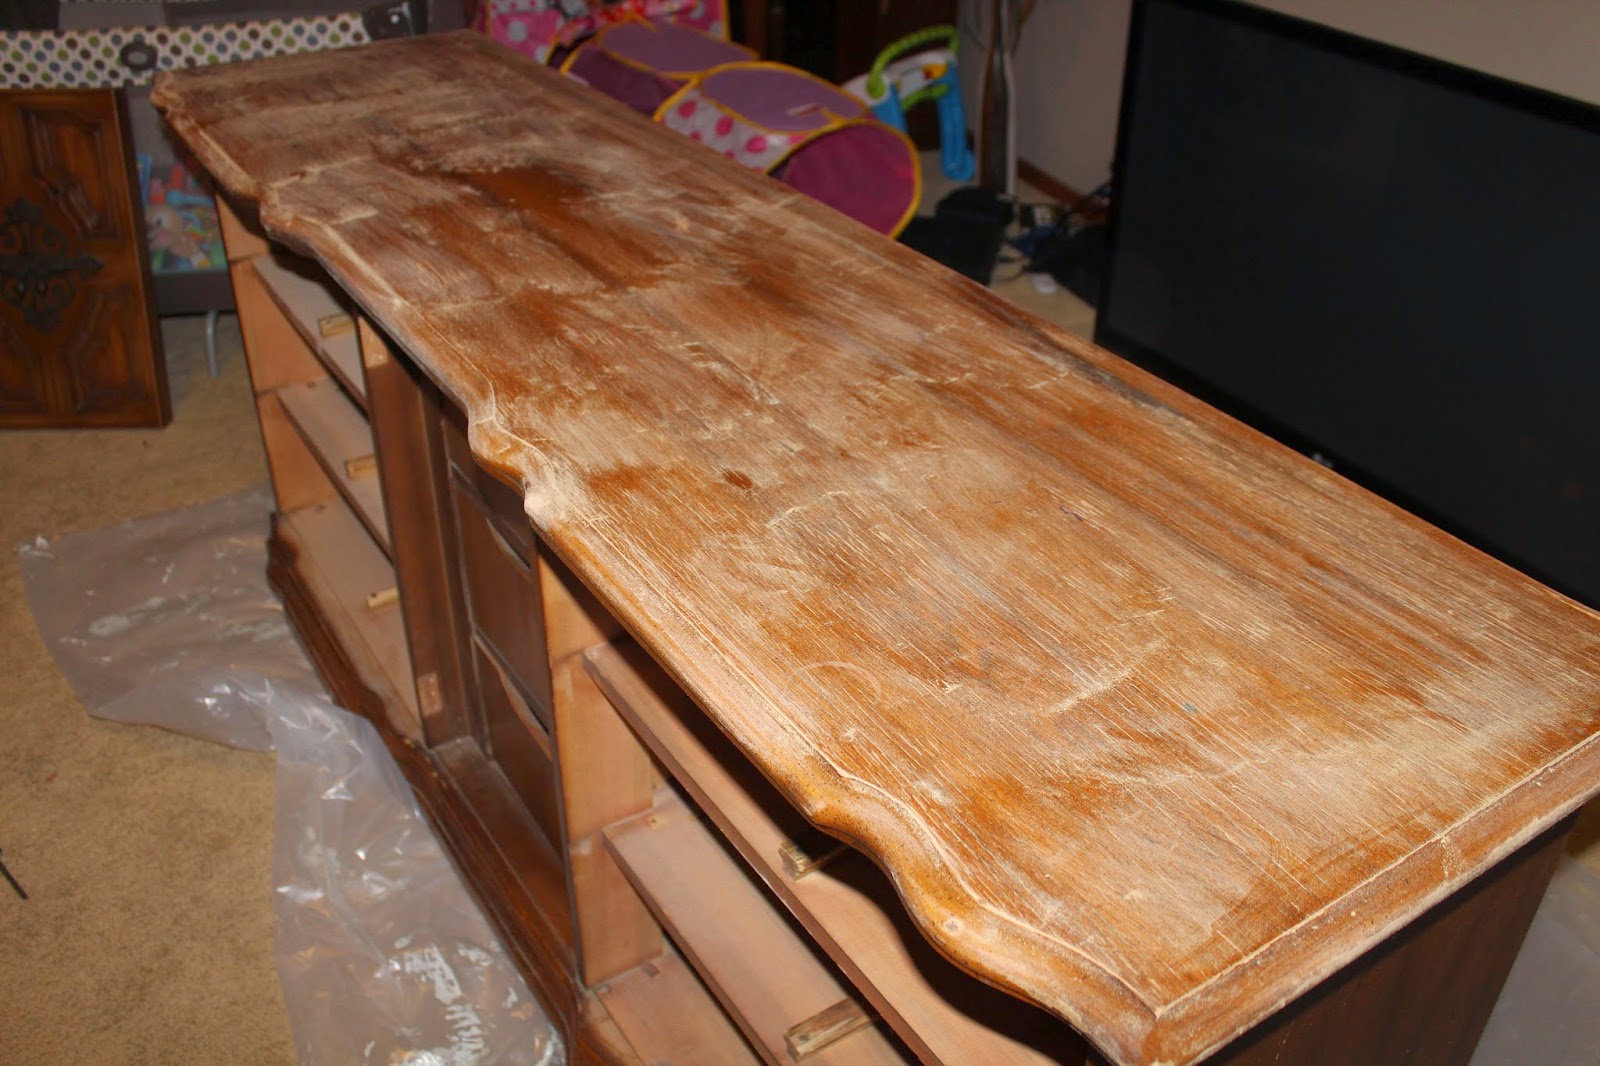
Once I finished the drawers, I got started inside on the main piece. This dresser is solid, so moving it to the garage wasn’t an option. Jamie helped me move it on top of a clear tarp, and I got to work doing the same steps that I used for the drawers. The only thing I did with the main piece that I didn’t do with the drawers was sand the top. I used 100 grit sandpaper and gave the top a really good sand.
Here were the steps again:
1.) Remove excess dirt and moisture from piece
2.) Sand (optional)
3.) Apply three coats. Allow each coat to dry completely before applying the next. Sand between coats if necessary.
4.) Distress to your liking!


5.) Apply wax – clear and then dark
The last few steps included screwing the door back on and putting on new knobs.
I went with a set of simple knobs from Home Depot, but had to buy additional screws to go with them because the drawers are so dang thick.
And here she is! My beauty queen.


From start the finish, this project took me right at 24 hours.
Oh, I forgot to mention that Hadley wanted to be like mommy and paint my shiny kitchen hardwood floors! Madness.

Something else. I LOVE SPRAY PAINT! See those teal and navy guys sitting to the right of the TV? They looked like this yesterday.
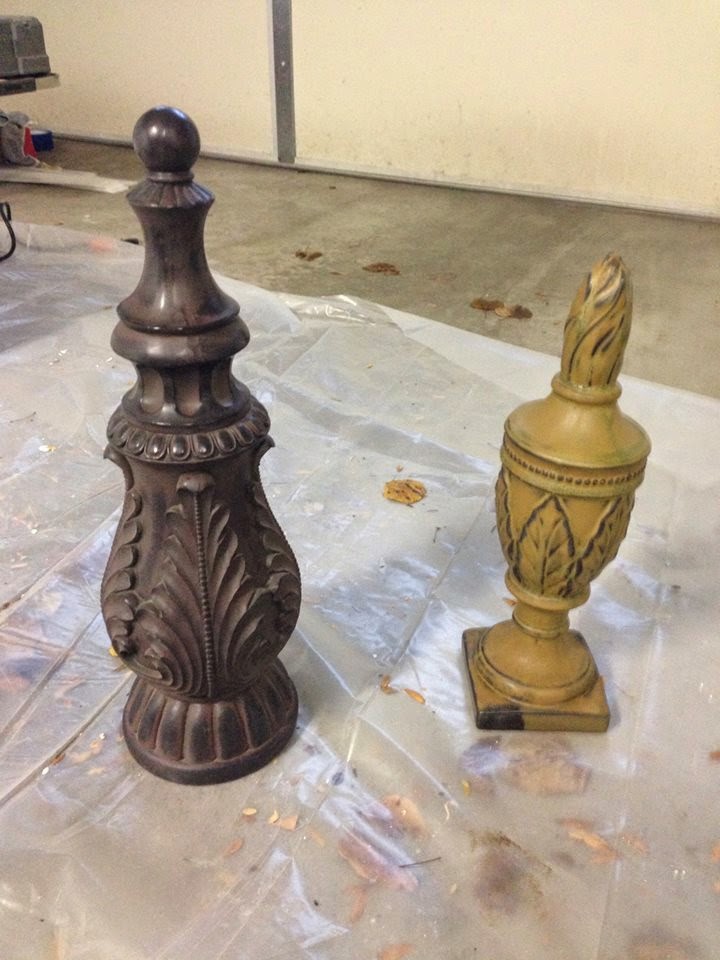
My MIL is redecorating and handed them down to me a few weeks ago. I gave them each one quick coat of spray paint (took me all of five minutes), and now they match the room perfectly (or at least they will match perfectly once the room is complete).
I’m really happy with the finished product considering this was my first solo go at using Annie Sloan paint and dark wax. I’m already looking forward to doing another piece. Trying to get my hands on a set of end tables…
If you’re interested in finishing your own piece, take a look at this YouTube video series. Taking 30 minutes to sit down and watch the process step by step really helped me (there’s a total of six videos – watch them all)! Good luck!
Hi! I’m Erica, and I absolutely adore sharing my life on this website with you! I come here almost daily to blab about all of the things related to being a regular wife and mother in today’s ever-evolving society. I share about our new home, what’s on our kitchen table, what we’re hanging in our closets, where we’re traveling to next, my crazy 5 a.m. work outs, how I make time for girlfriends, our faith, and much more. We always have a lot of balls in the air and somewhat thrive on the chaos. I believe in the power of story-telling as a form of inspiration and entertainment, so I’m here to do both! I was born and raised in north Alabama and recently re-planted roots here again after my husband transitioned out of the Army (he is now in the Reserve and it’s going so well!) I’m a super proud mom to three little girls (ages 7, 4, and 1) who seem to be the stars of the show around here (for good reason – they’re pretty great!) I’m so glad you found me and are here reading! I hope we can get to know each other here on the blog as well as Facebook and/or Instagram. xoxo